
Secure remote access is essential for managing cloud infrastructure — especially in fast-moving environments. At 2ops, we help our clients implement scalable, secure access to Azure resources without overcomplicating the process.
In this guide, you’ll learn how to configure the Azure VPN Client on Windows to connect to your Azure virtual network using point-to-site (P2S) VPN and Microsoft Entra ID for authentication.
Who This Is For
This guide is for engineers, IT administrators, and DevOps teams who need to:
- Establish secure, user-level VPN access to Azure environments.
- Use Microsoft Entra ID (formerly Azure Active Directory) for authentication.
- Avoid manual certificate distribution and simplify identity management.
Prerequisites
Before you begin, ensure the following are in place:
- Your VPN Gateway in Azure is configured for P2S with Microsoft Entra ID authentication.
- You’ve downloaded the VPN client configuration package from the Azure portal.
Need help setting up the gateway? See Microsoft’s P2S gateway configuration guide.
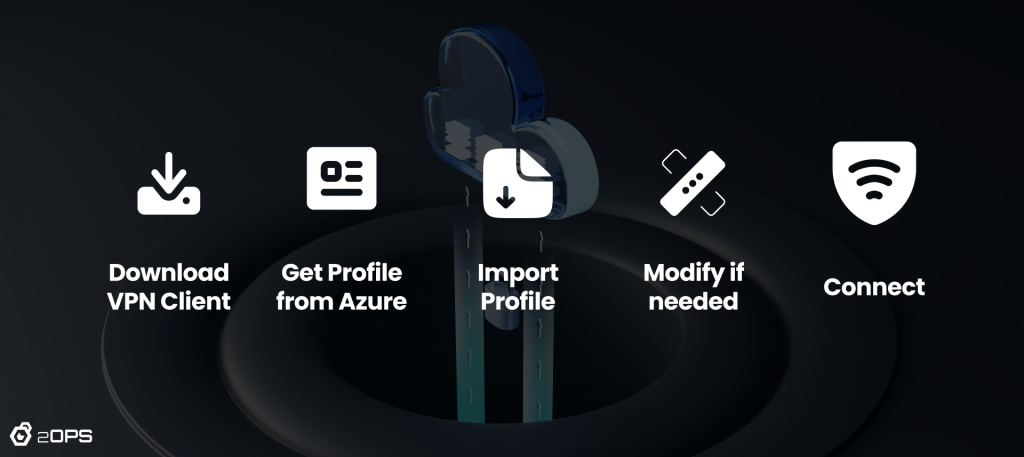
Workflow
Here’s a view of what you’ll be doing:
Step 1 – Download and Install Azure VPN Client
There are two ways to install the Azure VPN Client:
- From the Microsoft Store
- Direct download: https://aka.ms/azvpnclientdownload
After installing, make sure the app has permission to run in the background (check under Windows Background Apps). To verify the version, open the client, scroll down, and select “Help”.
Step 2 – Extract the VPN Profile
Once you’ve downloaded the client configuration package from the Azure portal, unzip it. You should see a folder named AzureVPN, which contains either:
- azurevpnconfig_aad.xml (for Microsoft Entra ID)
- azurevpnconfig.xml (for certificate-based auth)
If these files are missing, double-check that your VPN gateway uses the OpenVPN tunnel type and has Entra ID(or Azure Active Directory) authentication enabled.
Step 3 – (Optional) Modify the Profile for Custom App IDs
If your gateway uses a custom audience ID (associated with a registered app), you’ll need to update the .xml file to include both the custom audience and the Azure VPN Client app ID.
Open azurevpnconfig_aad.xml in Notepad and replace the <aad> section with something like this:
					<aad>
   <audience>{customAudienceID}</audience>
   <issuer>https://sts.windows.net/{tenant ID value}/</issuer>
   <tenant>https://login.microsoftonline.com/{tenant ID value}/</tenant>
   <applicationid>c632b3df-fb67-4d84-bdcf-b95ad541b5c8</applicationid>
</aad>
This step is necessary for P2S gateway configurations that use a custom audience value and your registered app is associated with the Microsoft-registered Azure VPN Client app ID. If you don’t use a custom audience, you can skip this step.
Step 4 – Import and Configure the Profile
- Open the Azure VPN Client.
- Click the “+” button and select “Import“.
- Navigate to the AzureVPN folder and select the appropriate .xml file.
- The profile settings will auto-fill, but you still need to configure settings specific to the client computer. You may rename the connection if needed.
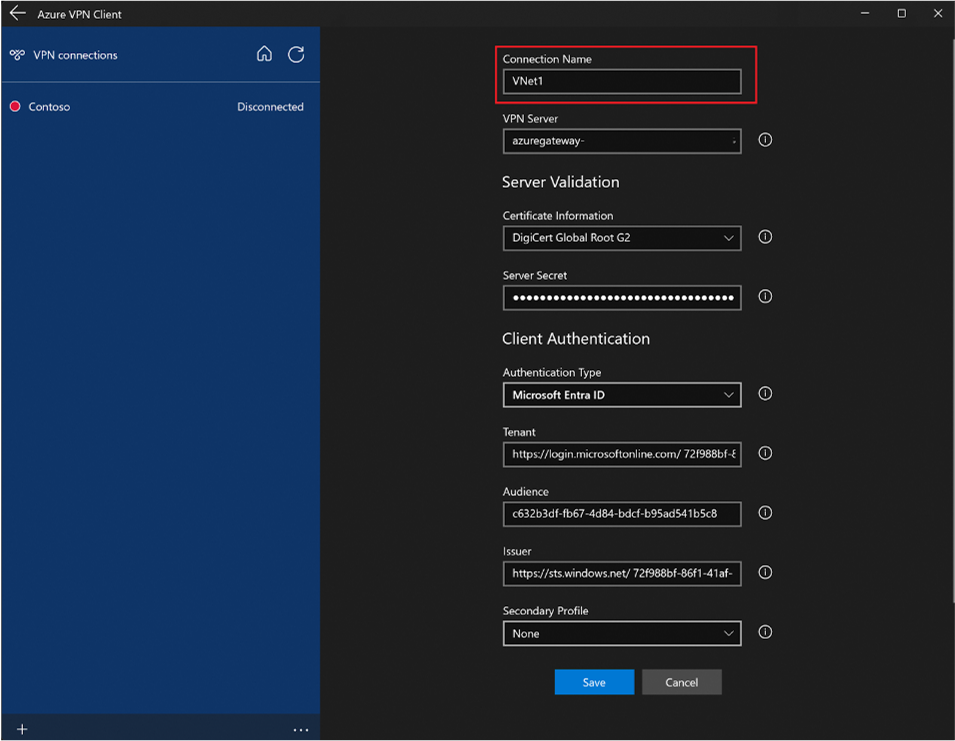
- Verify the Audience field matches what your gateway expects.
- Click Save.
To connect:
- Select the profile from the left panel.
- Click Connect and log in with your Entra ID credentials if prompted.
- Once connected, the status will update to “Connected”.
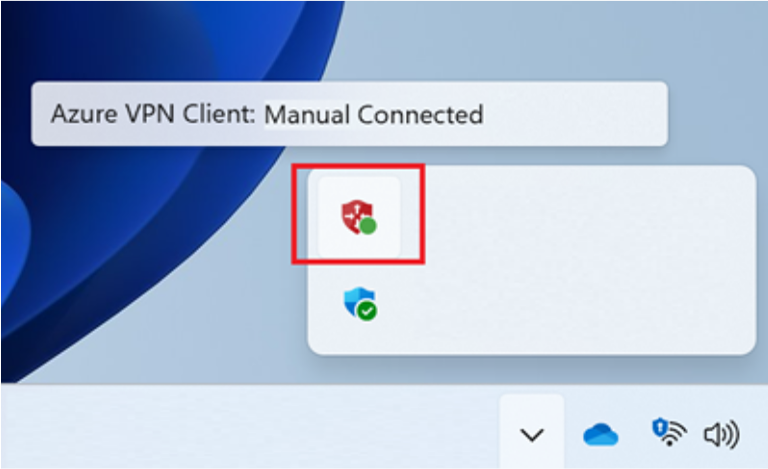
The Azure VPN Client system tray, available in version 4.0.0.0 and later, lets you close the VPN Client application while keeping the connection active. When you close the application, you can see the application in the Windows system tray. You can reopen the Azure VPN Client app in compact mode by clicking the tray icon.
Note: Microsoft is still updating client UI labels from Azure AD to Microsoft Entra ID. Field names may vary slightly depending on your version.
Step 5 – (Optional) Export or Delete Profiles
Export a Working Profile
To share a working profile with another user:
- Select the profile.
- Click the three dots (…) > Export.
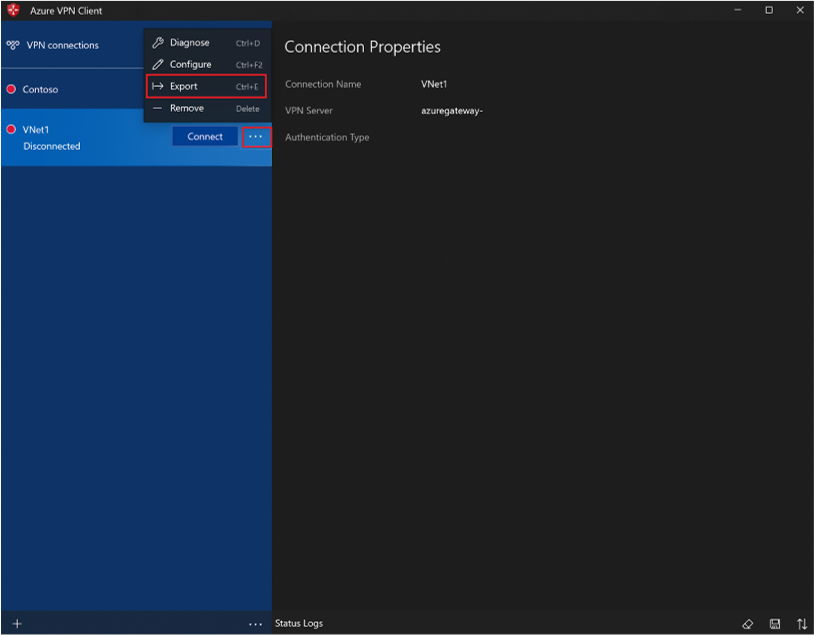
- Save the .xml file securely.
Delete a Profile
- Click the three dots (…) next to a profile.
- Select Remove, then confirm.
Step 6 – (Optional) Enable Always-On VPN
If you want the connection to launch automatically on startup:
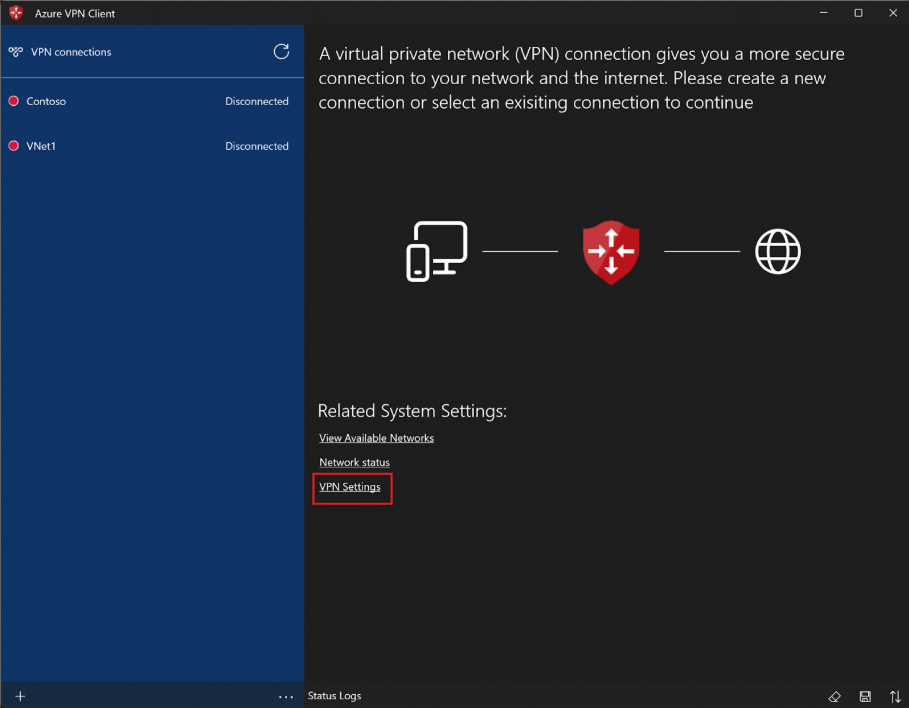
- Open the Azure VPN Client.
- Go to VPN Settings.
- Disconnect the profile if it’s active.
- Select the profile and check the “Connect automatically” box.
- Reconnect to apply changes.
Need Help?
If you’re running into issues or want to integrate VPN access with broader infrastructure automation or security policies, 2ops can help.
Frequently Asked Questions
Can I use a single Azure VPN connection for multiple environments (e.g., DEV, QA, PROD)?
No. Each environment requires its own VPN configuration profile. The Azure VPN Client allows you to connect to only one environment at a time, so you’ll need to import and manage separate profiles for each environment and switch between them, when needed.